Outdoor AC Unit Not Running? Diagnose Power & Electrical Issues
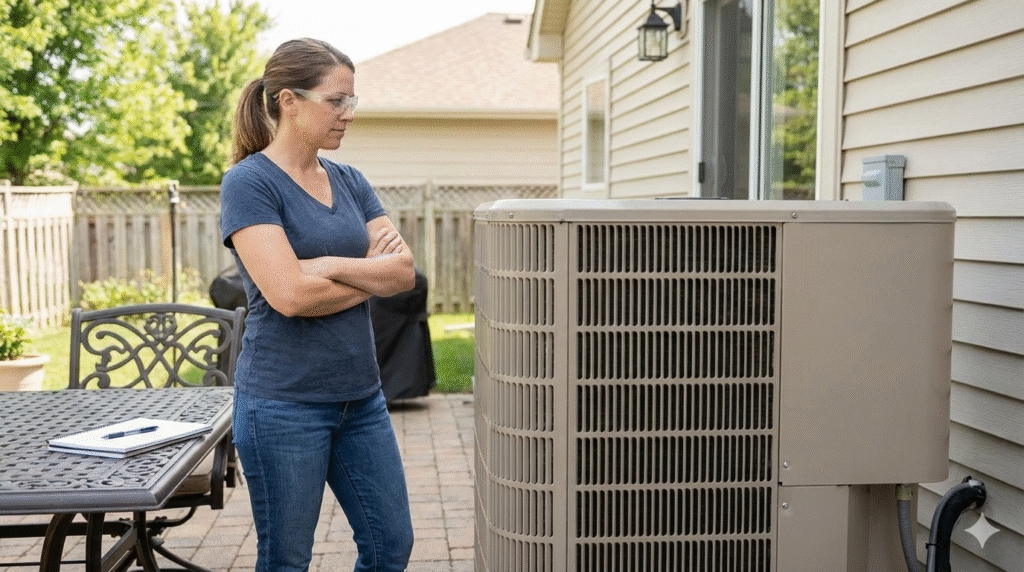
When the outdoor AC unit—the condenser—is completely unresponsive, it creates an immediate comfort crisis. The system is receiving no power, or a critical safety device is preventing operation. Diagnosing a “dead” outdoor unit requires methodically checking the chain of electrical power and controls, from your home’s main panel to the unit’s internal components. While some causes are simple resets, others indicate serious electrical or mechanical failure.
This guide provides a safe, logical sequence for diagnosing why your outdoor air conditioner won’t run. We will start with the simplest, most common homeowner-accessible checks and progress to issues that require a professional HVAC technician. Safety is paramount; we will clearly indicate when to stop DIY efforts and call for expert service. This approach helps you quickly determine if you can restore cooling yourself or need to schedule a repair.
First Step: Initial Observations and Safety
Before touching anything, gather key information:
- Complete Silence? Stand next to the outdoor unit. Do you hear absolutely no sound—no hum, no fan movement—when the thermostat calls for cooling?
- Indoor Unit Status: Is the indoor air handler’s blower fan running? (Set the thermostat fan to “ON” to check).
- Thermostat: Is the display lit and set correctly to “COOL” at a temperature below the room reading? Do you hear a faint click from the thermostat when you lower the set temperature?
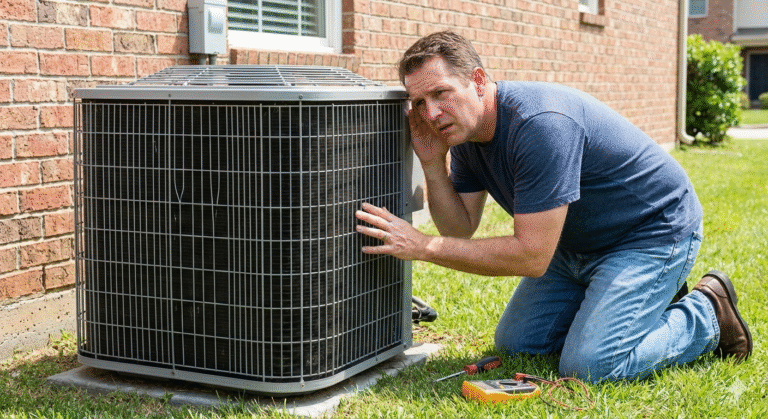
- Visual Inspection: Look for obvious issues: Is the outdoor unit overgrown with plants? Are any wires visibly chewed or disconnected? Is the disconnect switch box open?
Safety Rule: Always turn the power OFF at the thermostat and at the dedicated circuit breaker before inspecting, cleaning, or touching any electrical components at the outdoor unit.
Related Posts
What to Check First: External Power Sources and Disconnects
These are the most frequent reasons for a non-running unit and are safe for homeowners to verify.
1. A Tripped Circuit Breaker or Blown Fuse
The outdoor condenser has a dedicated circuit. Power surges, lightning, or an internal fault can trip it.
- Action: Go to your main electrical panel. Find the breaker labeled “AC,” “HVAC,” or “Condenser.” If it’s in the middle (tripped) position, switch it fully OFF, then back ON. If it immediately trips again, do not reset it again. This indicates a serious electrical fault—call a professional.
- For Fuse Boxes: If you have an older home with fuses, locate the AC fuse. A blown fuse will have a broken metal strip or be discolored. Replace it with an identical type and amperage rating. If it blows again, call a professional.
2. The Outdoor Disconnect Switch is Off
This is a small, weatherproof box (often gray) on the wall near the outdoor unit. It contains a pull-out fuse block or a simple lever switch to isolate power for service.
- Action: Ensure the switch lever is firmly in the ON position or that the fuse block is fully inserted. It can be accidentally switched off or pulled loose.
3. A Tripped Condensate Safety Switch (Float Switch)
This is an overflow safety device located at the indoor air handler. If the condensate drain line clogs, the drain pan fills with water and this switch trips to cut power to the entire system, preventing water damage.
- Signs: You may see water in the drain pan or around the indoor unit.
- Action: Locate the switch (a small plastic box with a float arm) near the indoor air handler. If tripped, the drain line must be cleared before the system can be reset. You can attempt to clear the line via its clean-out port.
Intermediate Electrical Issues: Internal Components
If external power is confirmed, the problem lies within the unit’s electrical system. These checks involve higher risk and often require a professional.
4. A Faulty Contactor
The contactor is an electromagnetic relay inside the outdoor unit. It closes to send high-voltage power to the compressor and fan when it receives the low-voltage signal from the thermostat.
- Symptoms: You may hear a single, faint click from the outdoor unit (the thermostat signal) but no subsequent hum or action. The contactor’s metal contacts can become pitted, burnt, or stuck open.
- Professional Service Required: Visual inspection and replacement of the contactor involve working inside the high-voltage compartment. This is a job for a technician.
5. A Failed Run Capacitor
The capacitor provides the necessary jolt of energy to start the compressor and fan motors. A failed capacitor is one of the most common reasons an outdoor unit fails to start.
- Symptoms: A loud humming noise from the outdoor unit that lasts a few seconds and then stops, often with no fan movement. The capacitor may appear swollen or have leaked its oily dielectric fluid.
- Professional Service Required: Capacitors store a dangerous electrical charge. Testing and replacement must be performed by a qualified technician.
6. A Locked-Out Compressor or Internal Overload
The compressor has an internal thermal overload protector. If it overheats due to low refrigerant, lack of airflow, or electrical issues, this protector trips to prevent burnout.
- Signs: The unit may have been struggling (poor cooling, short cycling) before going completely dead. It needs several hours to cool down and reset automatically.
- Action: Turn the system OFF at the thermostat for 4-6 hours. Ensure the air filter is clean and the outdoor coil is clear before attempting to restart. If it runs briefly and stops, a technician is needed to diagnose the root cause (e.g., refrigerant leak).
Practical Value: Step-by-Step Diagnostic Checklist for Homeowners
Follow this sequence to safely gather information. Prioritize safety: turn power OFF at the breaker for any physical inspection.
Initial Checks (Power ON at Thermostat):
- Listen: Is the outdoor unit completely silent?
- Observe Thermostat: Does it click when you lower the set temperature?
Power Safety Checks (Turn Thermostat OFF, then proceed):
- Step 1: Main Circuit Breaker. Locate, check, and reset the AC breaker.
- Step 2: Outdoor Disconnect. Verify the switch/lever is ON or the fuse block is inserted.
- Step 3: Condensate Safety Switch. Check the indoor drain pan and float switch for a tripped condition.
If Power is Confirmed, Listen Before Calling a Pro:
- Step 4: Restart Sequence. Turn the thermostat back to COOL. Go outside and listen. Do you hear a humming sound? (Suggests a bad capacitor). Do you hear a single faint click and then silence? (Suggests a bad contactor or control issue).
When to Stop and Call an HVAC Professional
Call a certified technician immediately if:
- A breaker trips repeatedly and immediately after being reset.
- You hear loud buzzing, humming, or clicking from the outdoor unit, but it doesn’t start.
- You see, smell, or suspect burning, smoke, or melted wires.
- You have performed all basic checks (breaker, disconnect, filter, and drain switch), and the unit remains dead.
- The diagnosis points to the contactor, capacitor, or compressor.

When to Stop and Call an HVAC Professional
Call a certified technician immediately if:
- A breaker trips repeatedly and immediately after being reset.
- You hear loud buzzing, humming, or clicking from the outdoor unit, but it doesn’t start.
- You see, smell, or suspect burning, smoke, or melted wires.
- You have performed all basic checks (breaker, disconnect, filter, drain switch) and the unit remains dead.
- The diagnosis points to the contactor, capacitor, or compressor.
What a Professional Will Do
A technician will:
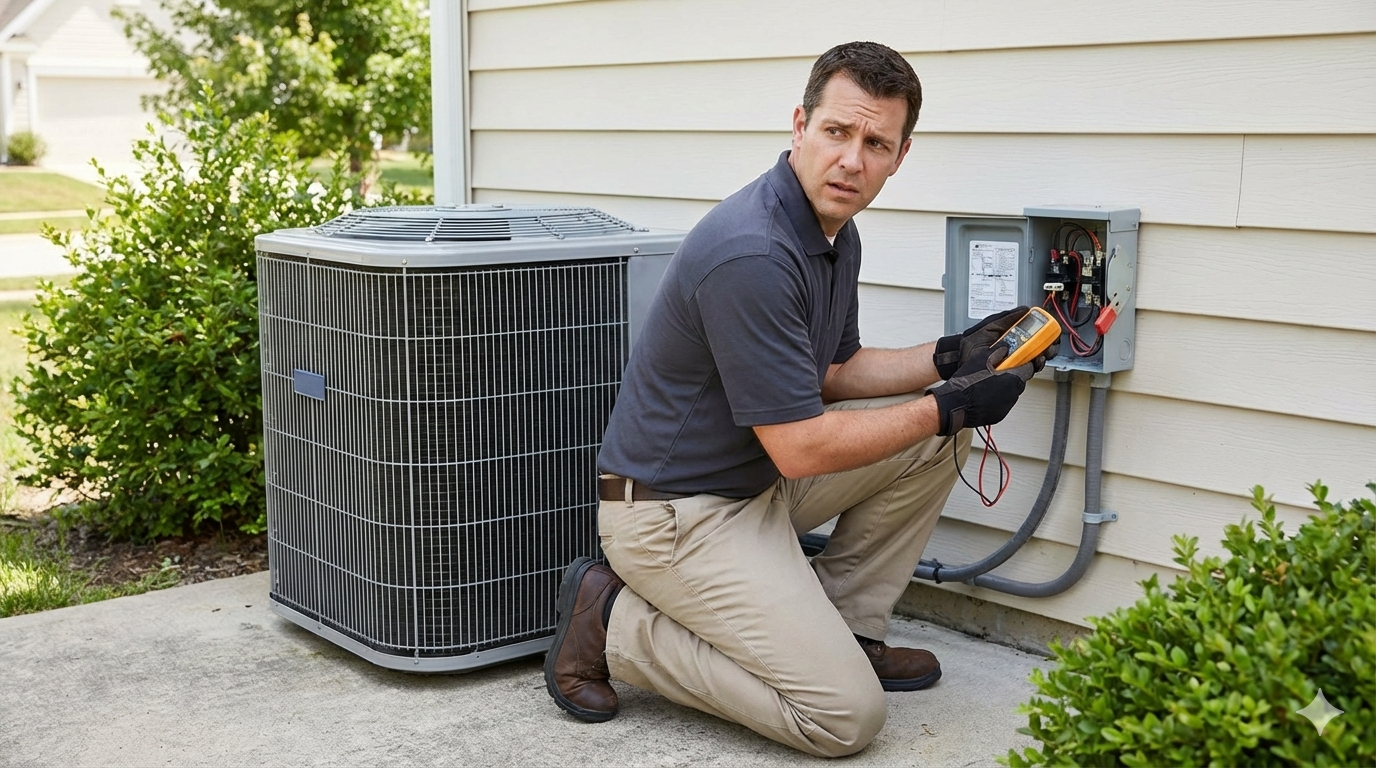
- Verify voltage at the outdoor unit to confirm power delivery.
- Test the contactor for proper engagement and contact integrity.
- Test the capacitor with a multimeter for capacitance and proper function.
- Check compressor windings for shorts or opens and verify it’s not grounded.
- Inspect wiring and connections for damage or corrosion.
- Diagnose and repair the specific faulty component.