Frozen AC Coils: Top Causes, How to Fix, and Prevention
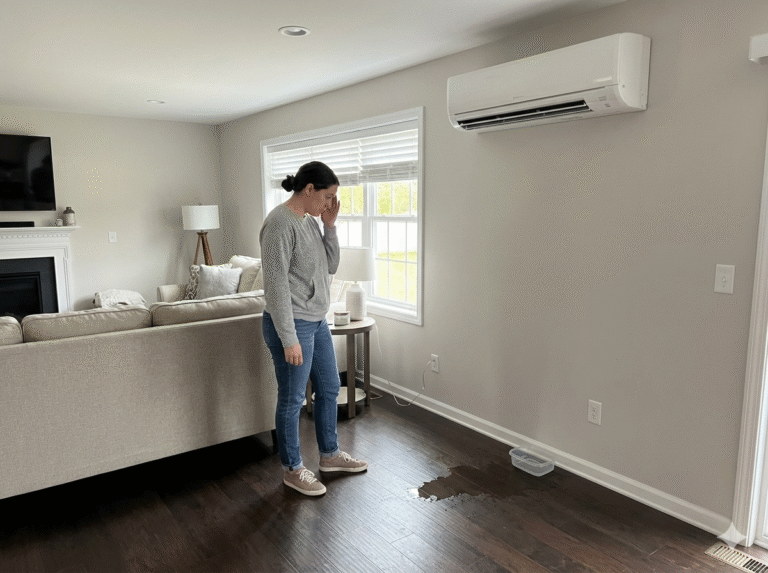
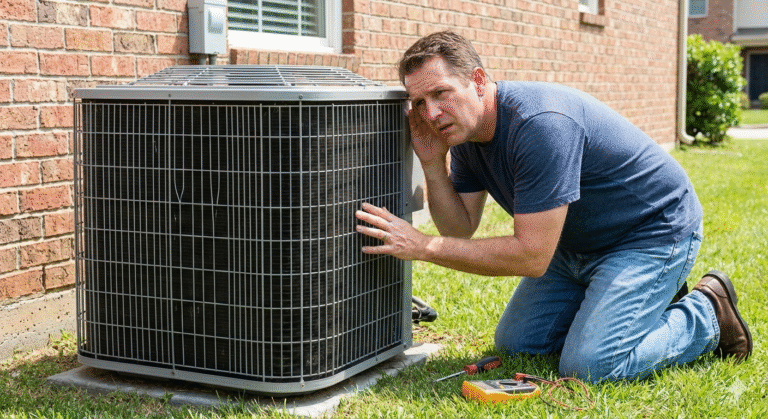
Discovering ice on your air conditioner’s components is a clear sign of a malfunction. While the system is designed to cool air, the evaporator coil—the part that actually absorbs heat—should never physically freeze under normal operation. A frozen AC coil is a symptom, not a standalone problem. It indicates an imbalance in the system that prevents the coil from absorbing heat properly, causing its temperature to drop below freezing and condensing moisture to turn to ice.
This guide explains why air conditioner coils freeze, detailing the two primary root causes: restricted airflow and low refrigerant charge. You will learn how to safely thaw a frozen system, perform initial diagnostic checks as a homeowner, and understand when a professional HVAC technician is required to perform a permanent repair. Addressing a frozen coil promptly is crucial to prevent further damage to the compressor and restore efficient cooling to your home.
First Step: Confirm the Problem and Ensure Safety
If you suspect a frozen coil, look for these signs:
- Reduced or No Cooling: Little to no cool air is coming from your supply vents.
- Reduced Airflow: Air from the vents feels weak, even if it’s somewhat cool.
- Visible Ice: Ice on the copper refrigerant lines (the larger, insulated line) at the indoor unit or on the outdoor unit.
- Water Leakage: After the unit shuts off and the ice melts, you may experience water leaks from the indoor air handler.
Immediate Safety Action: If you see ice, turn the air conditioner OFF immediately at the thermostat. Switch the fan from “AUTO” to “ON.” This will run just the blower fan without the compressor, helping to circulate warm room air over the coil to speed up thawing. Do not attempt to chip away ice, as this can damage the delicate fins of the coil.
Related Posts
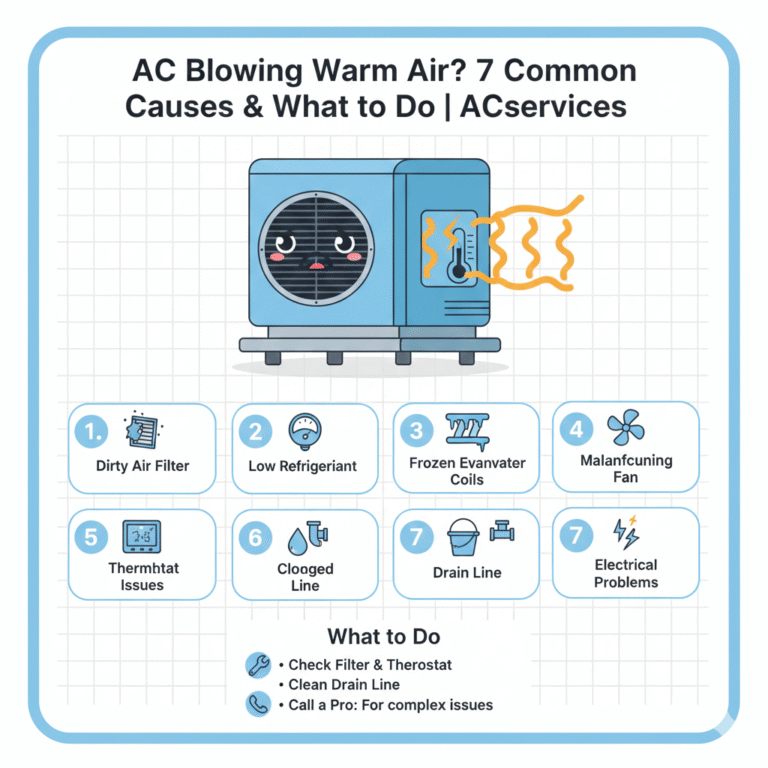
The Two Primary Reasons an AC Coil Freezes
A coil freezes when its temperature drops below 32°F (0°C). This happens due to one of two fundamental issues that disrupt the heat absorption process.
1. Restricted Airflow Over the Evaporator Coil
For the coil to absorb heat, a sufficient volume of warm indoor air must pass over it. If airflow is restricted, the coil cannot absorb enough heat and gets too cold.
- Common Causes:
- Dirty Air Filter: A clogged filter is the #1 cause of frozen coils.
- Blocked Vents or Returns: Closed or obstructed supply vents or return air grilles.
- Dirty Evaporator Coil: Dirt and debris act as insulation on the coil itself.
- Failing Blower Motor: The indoor fan is not moving air at the proper speed.
- Closed Dampers or Blocked Ductwork.
2. Low Refrigerant Charge (A Refrigerant Leak)
Refrigerant is the substance that absorbs heat in the coil. If the system is low due to a leak, there isn’t enough refrigerant to absorb the normal amount of heat. This causes the pressure and temperature in the evaporator coil to drop too low, leading to freezing.
- Key Indicator: Often, only a section of the coil will freeze, typically where refrigerant is still flowing. This is a strong sign of a leak.
Other Contributing Factors
- Outdoor Temperatures: Running a standard AC when outdoor temperatures are below 60°F (15°C) can cause the coil to freeze because there is not enough heat load.
- Faulty Thermostat or Sensors: Malfunctioning controls can cause the compressor to run excessively long cycles.
- Dirty Condenser Coil: A blocked outdoor coil can cause high head pressure, disrupting the refrigerant cycle and potentially contributing to freezing.
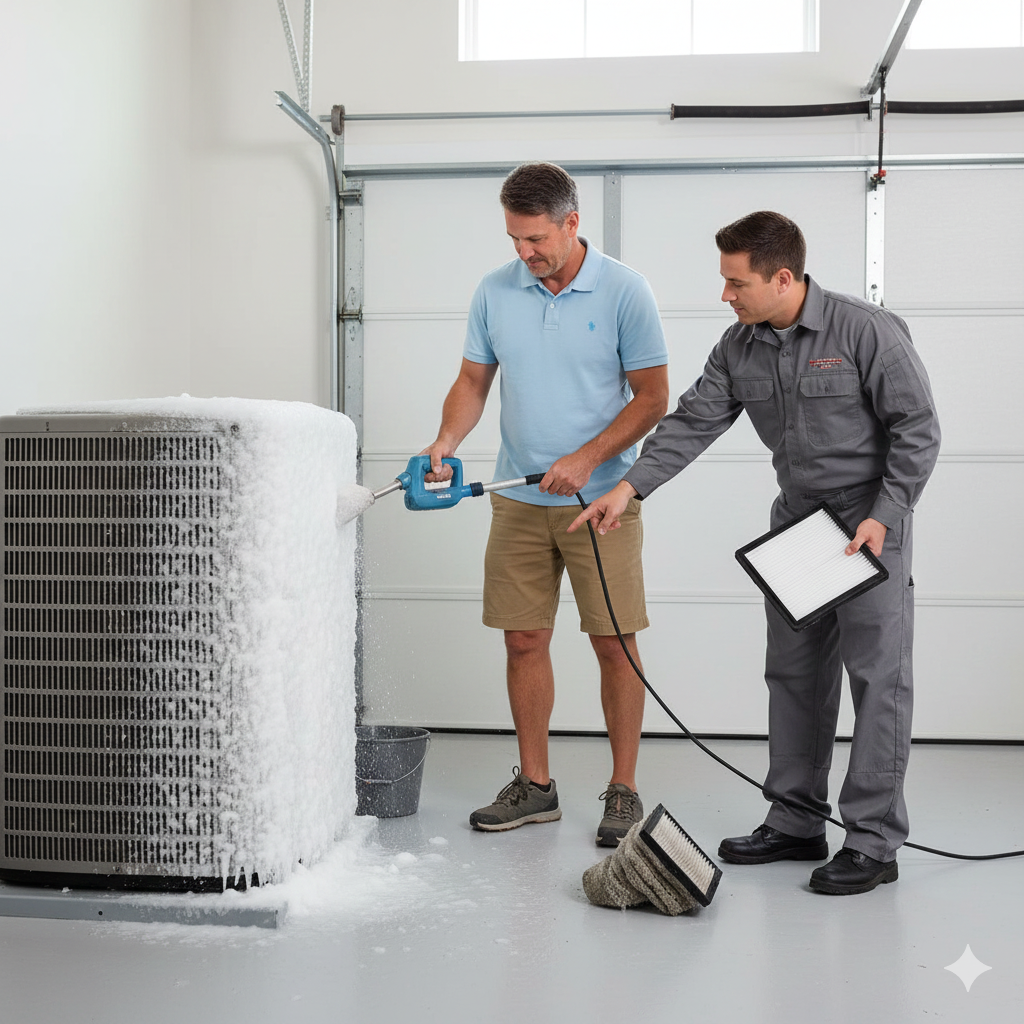
Practical Value: How to Safely Thaw and Diagnose a Frozen Coil
Step 1: Turn Off Cooling and Turn On the Fan.
As stated, set the thermostat to “OFF” and the fan to “ON.” Let the fan run for several hours (at least 3-4) to completely thaw the coil. You may need to place towels or a shallow pan to catch melting water.
Step 2: Perform Homeowner Checks After Thawing.
Once the system is completely ice-free and dry, you can investigate.
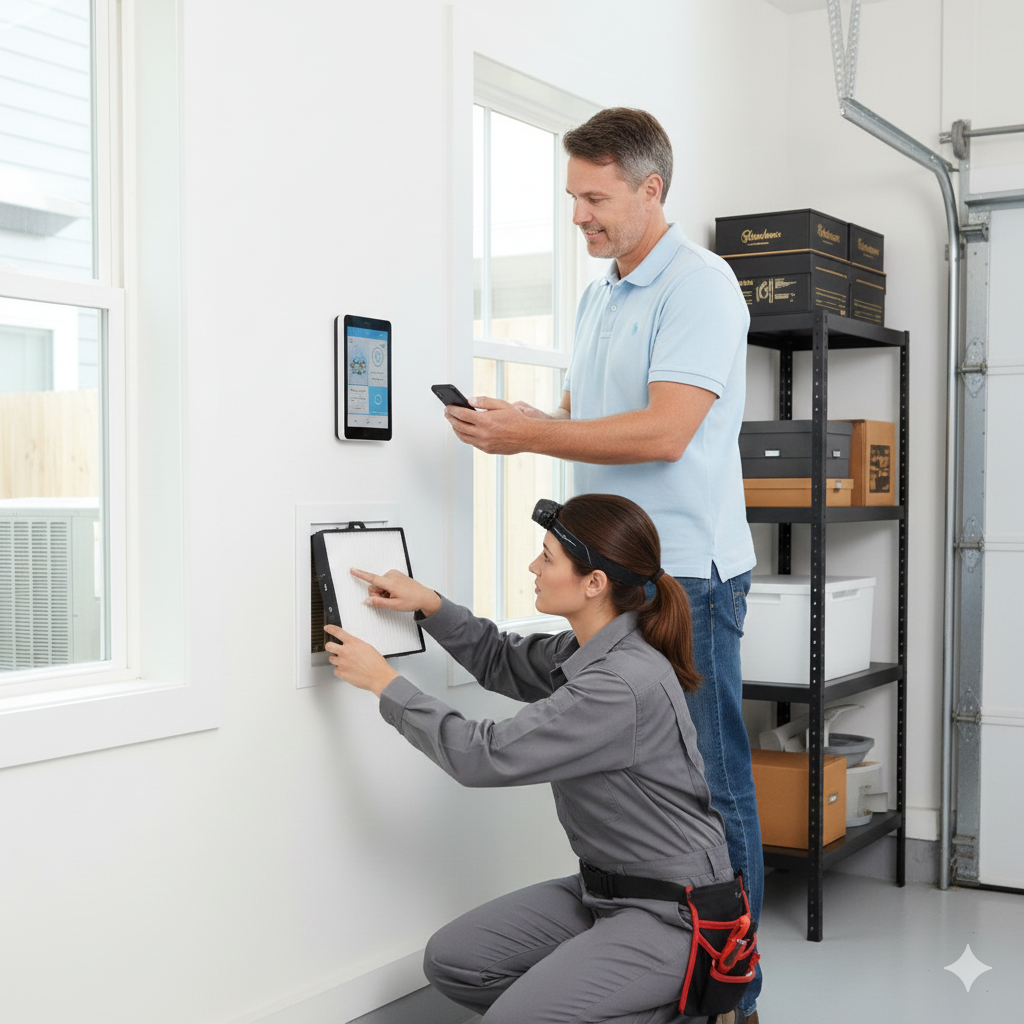
- Inspect and Replace the Air Filter. This is non-negotiable. Install a clean filter.
- Check All Vents. Ensure all supply vents and return grilles are open and unblocked by furniture or drapes.
- Inspect the Indoor Coil (If Accessible). With power OFF, check through the service panel for excessive dirt on the coil itself.
- Listen to the Blower Fan. When you turn the system back on, ensure the indoor fan is running at its normal strength.
Step 3: Test the System.
After 24 hours of thawing and completing the checks, turn the AC back to normal cooling mode. Monitor it closely for the next few hours.
- If it works normally: The issue was likely a one-time airflow restriction (dirty filter).
- If it freezes again within 24 hours: This strongly indicates a low refrigerant charge (a leak) or a persistent airflow problem (like a failing blower motor).
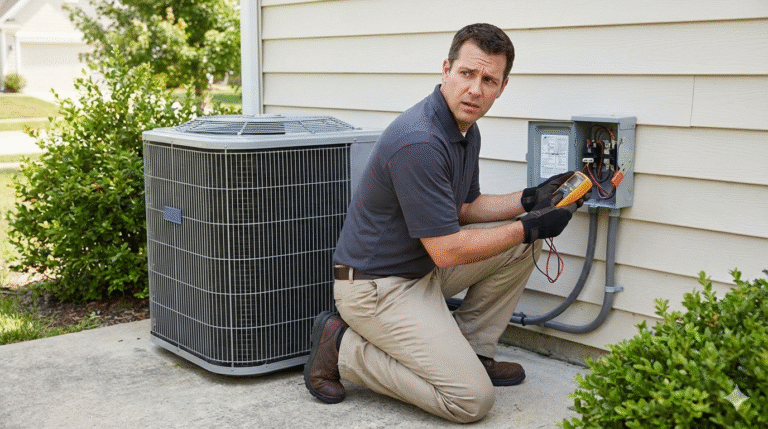
When to Call an HVAC Professional
You should contact a certified technician in the following scenarios:
- The Coil Refreezes After Thawing and Filter Change: This points to a refrigerant leak or mechanical airflow issue.
- You Suspect a Refrigerant Leak: Technicians have tools to detect leaks, repair them, and properly recharge the system.
- The Blower Fan is Not Working or is Noisy: This requires professional diagnosis and repair.
- The Evaporator Coil is Visibly Very Dirty: Coil cleaning may require specialized tools and techniques.
- You are Uncomfortable with Any Step: Safety first.
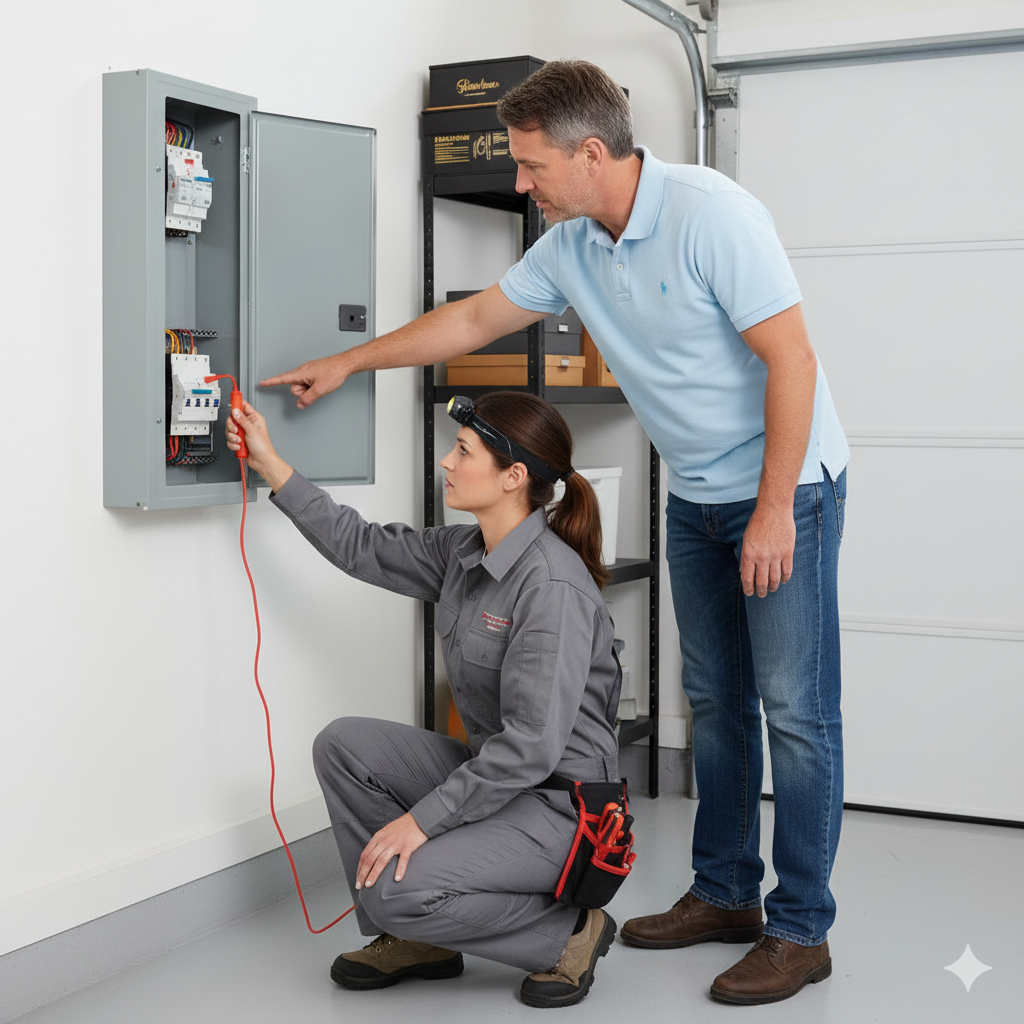
What a Professional Will Do
A technician will:
- Confirm the coil is thawed and inspect your system.
- Check for proper airflow using tools like a manometer and inspect the blower.
- Check refrigerant pressure with gauges to determine if the charge is correct.
- If low, perform a leak search using electronic detectors, ultraviolet dye, or nitrogen.
- Repair the leak (if possible and economical), evacuate the system, and recharge it to the manufacturer’s exact specification.
- Test the system to ensure it operates correctly without freezing.
Long-Term Prevention Strategies
- Change Air Filters Regularly: Stick to a 1-3 month schedule, especially during peak cooling months.
- Schedule Annual Maintenance: A professional tune-up includes checking refrigerant levels, cleaning coils, verifying airflow, and inspecting electrical components.
- Keep Vents Open: Maintain clear, open airflow throughout your home.
- Address Repairs Promptly: If you notice declining cooling performance, have it checked before it leads to a freeze-up.